

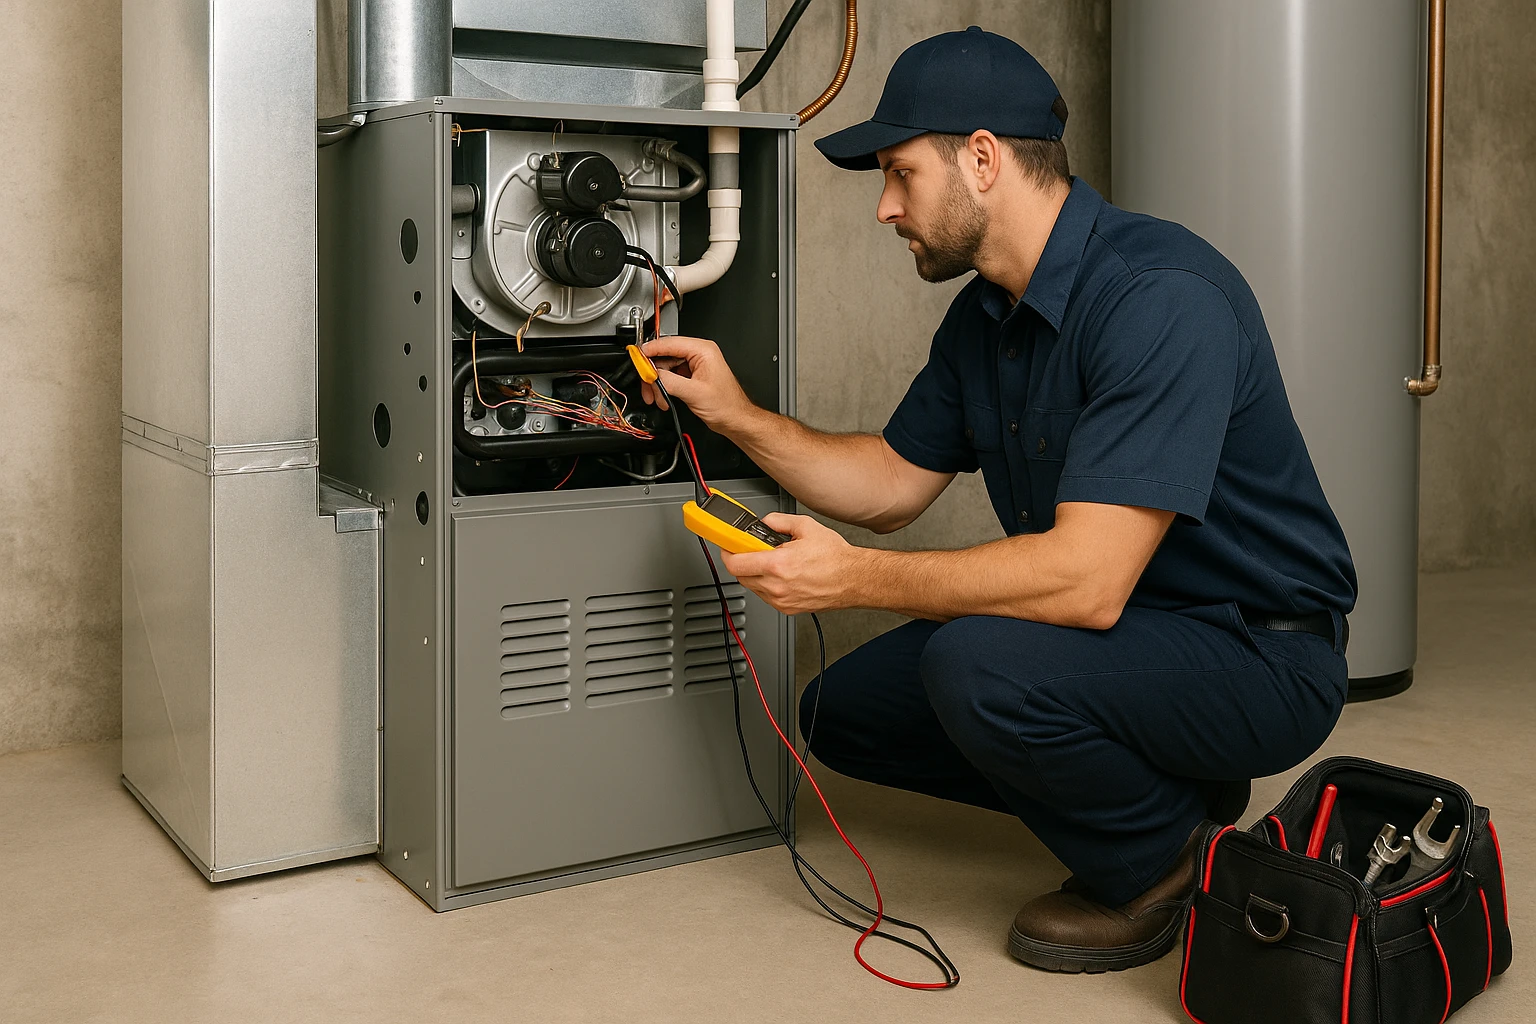
Planning a furnace replacement at mile-high elevation is not a simple one-for-one swap. Thinner air changes how burners mix fuel and oxygen, which affects BTU output, vent sizing, and even which orifices belong in the gas valve. Older ducts may not handle the higher airflow a modern ECM blower can deliver, and a high-MERV filter can quietly push static pressure over the manufacturer’s limit. Before the first hard freeze, homeowners benefit from a clear plan that starts with a heat-loss calculation and ends with a properly commissioned system. The details below focus on altitude, load, ductwork, venting, and safety so you can ask the right questions and avoid short cycling, cold rooms, and nuisance shutdowns when you need heat most.
Altitude Changes BTUs, Burners, and Combustion Air
At elevation, there is less oxygen per cubic foot of air. That means a furnace’s nameplate BTU rating won’t match its actual heat output without manufacturer-specified high-altitude adjustments. In established neighborhoods across Denver, many legacy units were sized decades ago and vented into chimneys that no longer fit today’s sealed-combustion or condensing designs. A proper replacement considers burner orifice sizing, manifold pressure measured in inches of water column, and whether your installation will use a dedicated combustion air intake or draw from the mechanical room. Each choice affects flame stability, flue gas temperature, and safe vent termination.
Gas supply is part of the same equation. Undersized branches or dirty regulators can starve a new two-stage furnace on high fire, turning a crisp blue flame into a lazier yellow flame that deposits soot. A technician should verify inlet pressure, set manifold pressure per the data plate, and check temperature rise across the heat exchanger. On high-altitude installs, many manufacturers require specific kits or orifices; skipping these can trigger limit switch trips, reduce AFUE performance, and shorten component life. A quick combustion analysis provides hard numbers on excess air and carbon monoxide in the flue, confirming a clean burn after adjustments.
Start With a Real Load Calculation, Not the Old Nameplate
Right-sizing starts with a Manual J room-by-room heat-loss calculation, not the old unit’s capacity or a square-foot rule of thumb. Air sealing, window upgrades, and added attic insulation can cut heating load significantly, which often supports a smaller furnace with longer, more comfortable run times. Consider two common scenarios: a mid-century brick bungalow that recently received dense-pack wall insulation may justify downsizing. At the same time, a corner townhome with large west-facing glass may still need a robust capacity on the coldest evenings. The calculation looks at envelope details, orientation, infiltration, and duct location to determine real CFM and BTU targets.
Equipment staging is a practical trade-off. Single-stage furnaces are simpler but tend to cycle more, especially if slightly oversized. Two-stage and modulating models run at lower fire the majority of the time, pairing nicely with tighter homes and helping even out temperatures between floors. They also work well with smart thermostats that can anticipate setpoint changes and adjust fan profiles. Balance the upfront cost with quieter operation, steadier supply air temperatures, and fewer swings that can dry out indoor air. If you plan to add a whole-home humidifier, verify compatibility with your control board and that the supply plenum has space for the bypass or powered unit.
Ductwork, Static Pressure, and Filter Choices Affect Furnace Longevity
Most comfort complaints after a replacement trace back to airflow. High-MERV filters, constricted returns, and long flex runs can elevate external static pressure beyond what the blower is designed to handle. When that happens, supply temperature climbs too quickly, the high-limit switch opens, and the furnace short-cycles. Over time, that stress can crack a heat exchanger. A thorough install includes measuring static pressure with a manometer, comparing it to the furnace’s rated maximum, and correcting bottlenecks. Solutions may include a larger filter rack, a media cabinet with deeper pleats, or an additional return drop to reduce velocity and noise.
Consider a finished basement that was added years after the original system. It has two supplies but no return, and the only filter is a 1-inch slot that loads up within weeks. A well-executed upgrade might add a basement return tied into the main trunk, replace the restrictive 1-inch grille with a 4-inch media filter, and set balancing dampers so upstairs rooms do not starve when the basement calls. The final step is confirming temperature rise falls within the manufacturer’s range at both low and high fire, proving that airflow, heat transfer, and fan speed settings are aligned.
Venting and Condensate at Altitude and in Cold Snaps
Condensing furnaces use PVC or CPVC for intake and exhaust, and the layout matters in freezing weather. Keep intake and exhaust terminations away from prevailing winds, snow drift zones, and soffits where ice builds. Follow maximum equivalent length limits for elbows and runs, and pitch the exhaust back to the furnace so condensate drains to the trap. A blocked or frozen line can trip pressure switches and shut the system down. Install a clean condensate trap, route it to a floor drain or pump, and consider a neutralizer cartridge if local plumbing codes require it. Where piping must run along an exterior wall, insulation or heat cable may prevent freeze-ups.
Replacing a mid-efficiency furnace that shared a masonry chimney with a natural-draft water heater introduces another wrinkle. Once the furnace is removed, the oversized flue can become too large for the water heater alone, increasing the chance of backdrafting and spillage. The typical remedy is a properly sized chimney liner dedicated to the remaining appliance. If your new furnace uses sealed combustion, its PVC vent is separate and should not tie into an existing B-vent. These details help protect indoor air quality and keep safety controls from tripping during a cold front.
Permits, Safety Checks, and a Realistic Timeline Before the First Freeze
Furnace replacements generally require permits and inspections to ensure clearances, venting, gas connections, and electrical work meet code. Before the installer leaves, ask for a commissioning summary that lists measured gas pressure, static pressure, supply and return temperatures, and combustion analysis results. Verify the filter size is printed on the cabinet, shutoffs are labeled, and the condensate pump has a clean access lid. Test carbon monoxide detectors and preplacebatteries wasneeded. A short walkthrough on how to change filters, set fan profiles, and read fault codes on the control board pays dividends all winter.
Timing is another practical constraint. The first cold snap often creates backlogs, parts shortages, and rushed schedules. If your current furnace is unreliable, consider planning the replacement during shoulder season so you have time for a full load calculation, duct corrections, and any chimney or vent modifications. Using multiple space heaters as a stopgap can overburden circuits and leave rooms unevenly heated. A realistic timeline that includes permitting, material delivery, and a thorough start-up puts your system in service before winter stress tests your home.
A high-altitude furnace project comes together when you treat combustion, airflow, and the building envelope as one system. Ask prospective installers how they will perform a Manual J heat-loss calculation, measure external static pressure, and verify gas and vent adjustments for altitude. Discuss filter cabinet size, return air capacity, and where condensate will drain. Confirm whether a two-stage or modulating furnace fits your home and how it will be commissioned. With those bases covered, you reduce the risk of short cycling, cold bedrooms, or safety lockouts and gain a quieter, steadier, and more efficient heating season.
